Mastering Heat Pressing for DTF Transfers
Share
Introduction
Heat pressing DTF (Direct-to-Film) transfers onto fabric is a critical step in ensuring high-quality, durable prints. In this blog, we’ll walk you through the process, providing tips and best practices to help you achieve flawless results every time.
Step-by-Step Guide to Heat Pressing DTF Transfers
1. Inspect the Design Before Pressing
- Carefully inspect your DTF transfer design for any defects or inconsistencies before pressing. This helps eliminate potential problems and ensures a perfect print.
2. Turn On and Warm Up the Heat Press
- Turn on your heat press and allow it to warm up for at least 15 minutes. The warm-up time may vary depending on the size of your heat press, as larger platens may take longer to reach an even temperature.
3. Gather Necessary Materials
- You’ll need the following items:
- Teflon sheet
- Craft paper
- Your shirt or fabric
- DTF transfers from DTF HERE.com
- Lint remover (if needed)
4. Pre-Press the Fabric
- Use a lint remover to clean the fabric if necessary.
- Pre-press the fabric for 5 seconds at 135°C (275°F). This removes moisture and wrinkles, creating a smooth surface for the transfer.
5. Position the Transfer
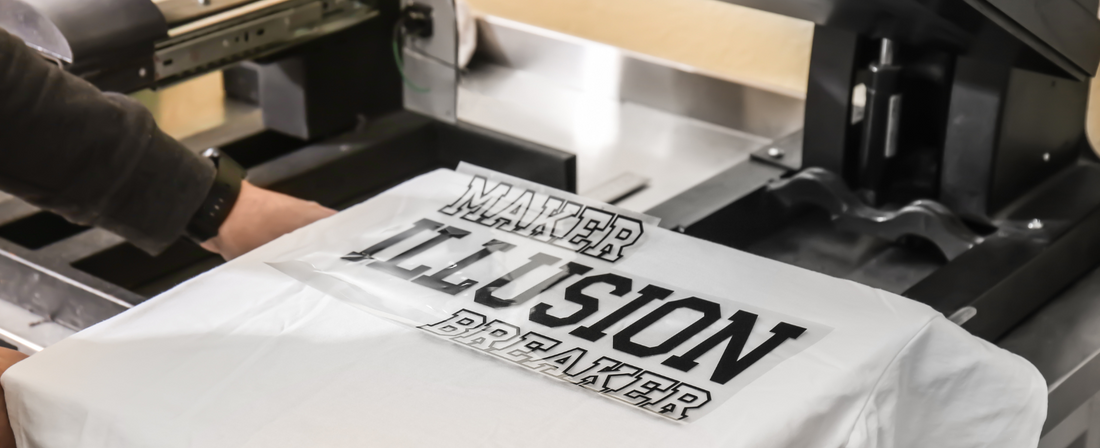
- Place the DTF transfer on the fabric and line it up carefully to ensure proper alignment.
6. Press the Transfer
- Set your heat press to the following settings:
- Temperature: 135°C (275°F)
- Time: 8-15 seconds (I personally use 15 seconds)
- Cover the transfer with a Teflon sheet to protect it during pressing.
- Apply firm pressure to ensure the transfer adheres properly. Always set your pressure to a hard setting.
7. Peel the Film
- For Quick Peel Film: Peel the film right away after pressing.
- For Supreme Hot/Cold Peel Film: Wait 3 to 5 seconds before peeling.
- Personally, I prefer cold peeling to reduce human errors.
8. Post-Press the Design
- After peeling the film, do a post-press using a Teflon sheet. This step helps secure the design and enhances durability.
Tips for Successful Heat Pressing
- Even Heat Distribution: Ensure your heat press provides even heat across the platen to avoid cold spots that can affect the transfer quality.
- Proper Pressure: Always use firm pressure to activate the adhesive powder properly. Low pressure can result in designs that crack or peel after a few washes.
- Correct Temperature and Time: Follow the recommended temperature and time settings. Pressing at too low a temperature or for too short a time can prevent the powder from melting properly, leading to poor adhesion.
- Avoid Common Mistakes: One of the most common mistakes is using too low a temperature and pressure, resulting in designs that start cracking after a few washes.
Conclusion
Heat pressing DTF transfers requires attention to detail and adherence to proper techniques to achieve the best results. By following these steps and tips, you’ll ensure your designs are vibrant, durable, and professionally finished. Whether you’re a seasoned professional or new to DTF printing, mastering the heat pressing process will elevate your printing game.
Feel free to share your experiences and tips for heat pressing DTF transfers in the comments below. Happy printing!
